How to tie a 90 × 90 cm scarf: five ideas for everyday elegance
One square scarf can look completely different depending on how you fold it. Sometimes it reveals a broad section of the pattern; at other times, only a colourful border. You do not need elaborate knots: a few simple movements are enough to style it with a shirt, jumper, blazer or hairstyle.
The ideas below are designed for a 90 × 90 cm square scarf. The final effect depends on the thickness of the fabric and your proportions, so treat the suggested fold widths as a starting point. The scarf should always feel comfortable and relaxed.
Start by folding the scarf into a band
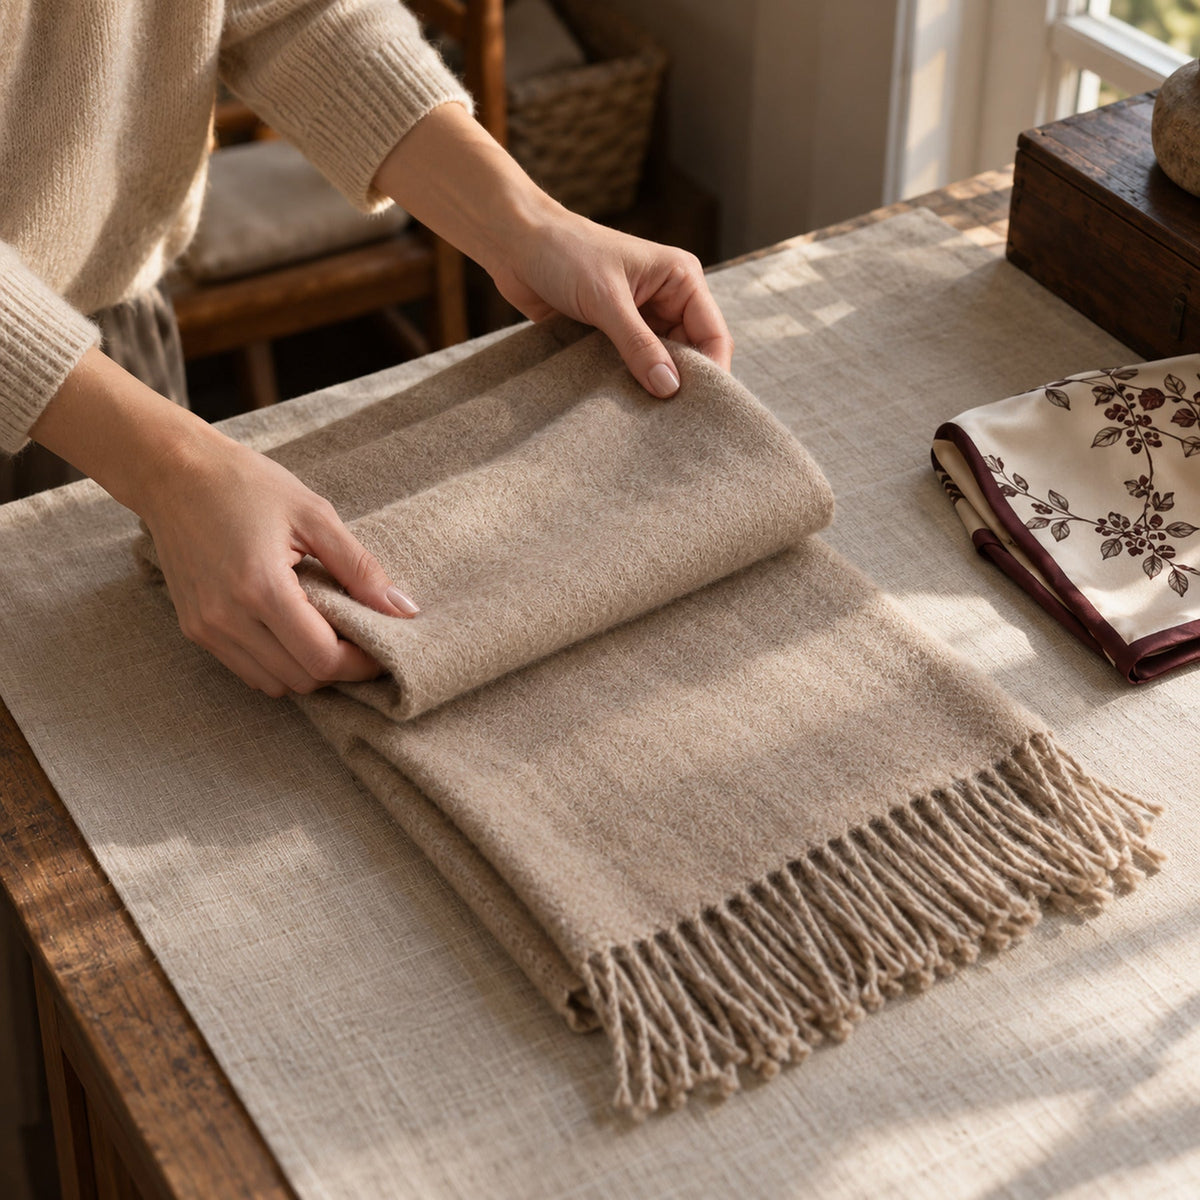
Lay the scarf on a clean, smooth surface with the reverse side facing up and one corner pointing towards you. Fold two opposite corners towards the centre. Then continue folding the resulting edges inwards until you have a band of your preferred width — around 5–7 cm is a good place to start.
You do not need to press every fold firmly. A soft fold gives a more relaxed effect. If you want to show a particular colour in the border, turn the band over before putting it on and choose which side will be visible.
1. A loose side knot — with a shirt or blazer
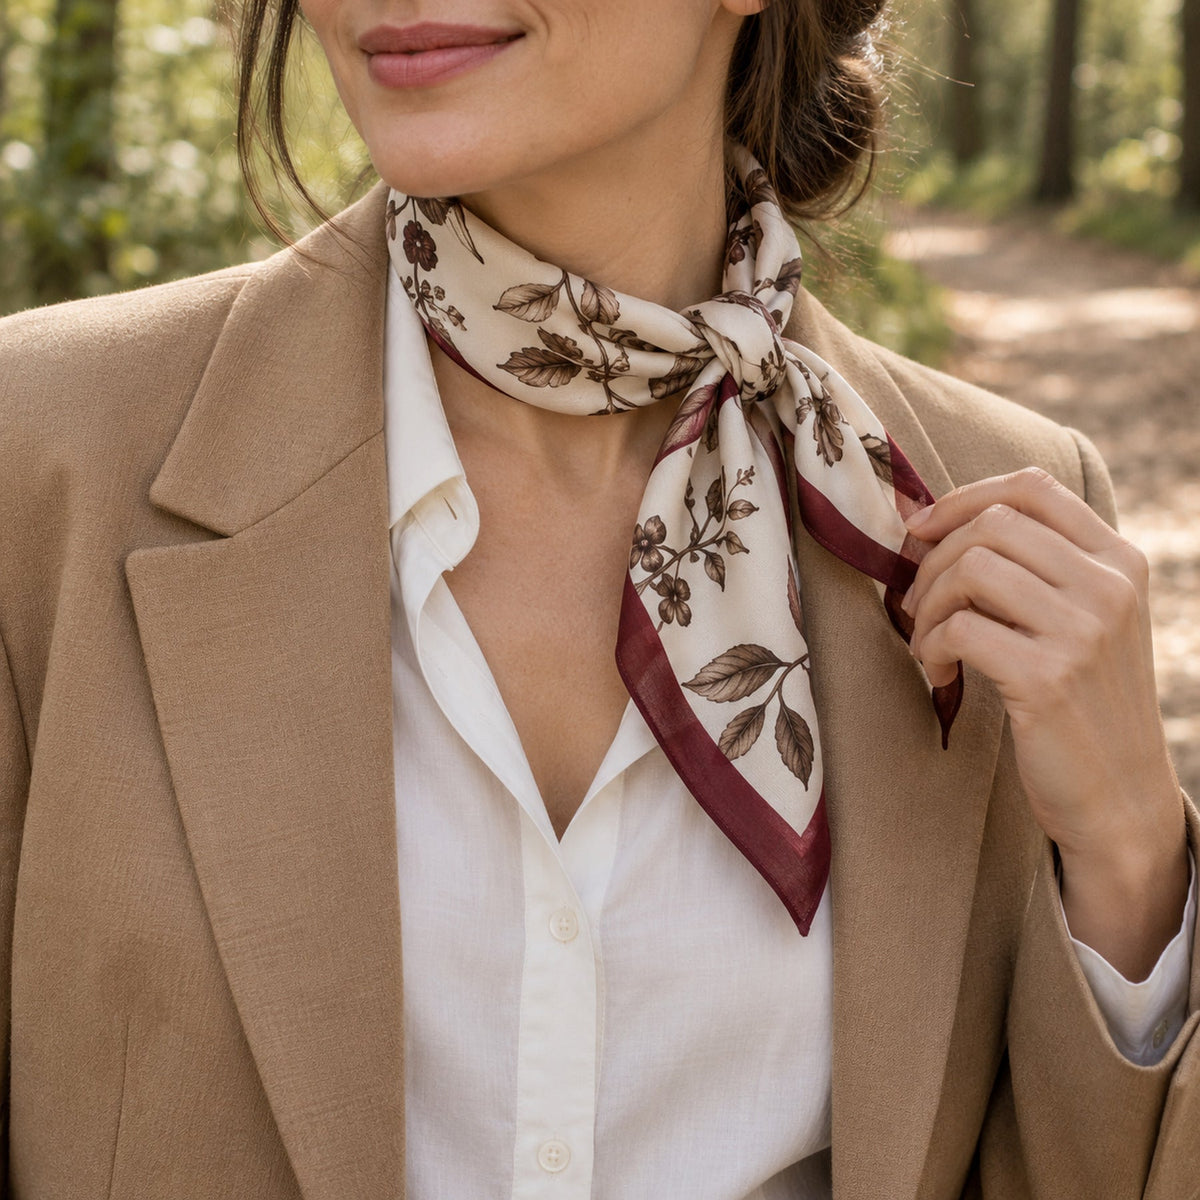
This is an easy way to style a scarf for the first time. A knot placed slightly to one side does not cover the whole neckline and lets you display both ends of the fabric.
- Fold the scarf into a band and place it behind your neck, leaving both ends at the front.
- Cross the ends, pass one beneath the other and form a loose single knot.
- If the fabric slips open, pass the ends through once more without tightening them firmly.
- Move the knot beside your collarbone. Spread the ends with your fingers to reveal the pattern.
Wear the scarf this way with a shirt left open at the neck. With a blazer, you can tuck part of the fabric beneath a lapel, leaving only the knot and ends visible. A cream-and-brown pattern pairs well with white, beige and camel.
2. A triangle at the front — with a simple jumper
This option suits a pattern you want to show over a larger area. The clear triangle gives the outfit structure, while soft folds keep it from looking rigid.
- Fold the scarf diagonally, bringing two opposite corners together.
- Place the triangle over your neckline with the point facing down.
- Take the two side ends behind your neck and tie them loosely at the back. If they are long enough, cross them behind your neck first and bring them back to the front.
- Smooth the edge at the neck and let the centre fall naturally.
Pair this arrangement with a plain jumper or simple T-shirt. If the triangle feels too large, roll its long edge once or twice before putting it on. This reduces the visible area of the pattern without changing the scarf.
3. A narrow band beneath the collar — a subtle detail
This version works when you want to add colour while letting the clothes take centre stage. A narrower fold mainly reveals the scarf's border.
- Fold the scarf into a narrower band than in the first style.
- Lift the shirt collar and pass the band beneath it and behind your neck.
- Lower the collar, then tie the ends in a small knot low at the front.
- Arrange the ends side by side or tuck part of them beneath the open top of the shirt.
A white or pale-blue shirt makes a good background. If you add a necklace, check that it does not catch on the fabric. Sometimes a pair of small earrings is all you need to complete the look.
4. A scarf in your hair — a soft finish for a ponytail
A scarf can bring colour closer to your face even when you prefer to keep your neck bare. It does not replace a hair tie in this style: it is an accessory added to a finished hairstyle.
- Secure your hair in a low ponytail with a plain hair tie.
- Fold the scarf into a band and wrap it around the base of the ponytail.
- Tie the ends above the hair tie, adjusting their length to suit the hairstyle.
- Leave them loose or shape them into a soft bow if there is enough fabric.
With shorter hair, a 90 × 90 cm square may create too much volume. In that case, choose a smaller square scarf or neck scarf. Selecting the right size matters more than reproducing a photograph exactly.
5. A knot on a bag handle — colour without another layer
This method is useful when you wear the scarf around your neck in the morning and later want to remove it while keeping its colour in your outfit.
- Fold the dry scarf into a band and choose a smooth section of the bag handle.
- Wrap the band around the handle and tie a loose knot close to its base.
- Arrange the ends so they do not touch the ground or get caught in the zip.
Avoid sharp fittings and rough edges. If you prefer to wrap the entire handle, first check that the scarf's width and length allow for a light, comfortable grip. A large square will not look proportional on every bag.
How can you make the knot look natural?
Leave some ease. The knot should hold the fabric without pressing against your neck. Instead of pulling only on the corners, adjust a wider section of fabric. When the ends are uneven, you do not always need to level them — a little asymmetry often looks more relaxed.
Try two versions of the same scarf: a wide fold that displays the centre of the pattern and a narrow one that highlights the border. Take a mirror photo. It will be easier to see which shape works with your collar and the proportions of the whole outfit.
Discover UniqueYou square scarves and neck scarves and choose a pattern you can wear in several ways. Start with one simple knot, then adapt the others to your everyday outfits.